Coffee and Cake

“Hey Kris, Connie invited us over after the meeting on Friday for coffee, can you bake something?” – Mom

My mom always counts on my to come up with something special to bring when we get invited to someone’s home. It also gives me a chance to browse the many recipes I have collected and try something new, sooo I gladly agreed! Although, I sometimes think they just invite me along with my mom because they know there’s a reallllyyy good chance I’ll bake hahaha and I can’t say that they’re wrong because I always do! I quickly ruled out making cookies. This called for a cake!!

You see…I associate cake with having afternoon coffee because it was sort of a tradition that goes wayy back between my mom and grandma. Growing up I was lucky enough to have my grandparents living across the street, and I always remember walking through the door from school and seeing the two of them at the table having coffee with a plate of sweet treats. My mom would then make me do my homework, help my grandma make dinner, then my grandpa would take me to dance and when I got home there was grandma and mom at the kitchen table AGAIN having round #2 of dessert! She and my mom are definitely the reason for my sweet tooth!! Unfortunately, I lost my grandma last year and my grandpa 9 years ago. I sure do miss them sooo much, but we have not stopped our cake and coffee tradition (except for maybe having the occasional cup of tea instead of coffee). So much happened around that kitchen table which is why I treasure those memories, and why I think cooking or baking for someone is such a kind and thoughtful gesture. It really shows someone you care. There’s nothing like gathering around a kitchen table, sharing some sweet treats or a meal and chatting. I can still hear my grandma saying, “I’ll fire up the coffee pot…” =) she had the old fashion percolator one…nothing beats the smell of fresh perked coffee… still makes me smile…

IMG_2680

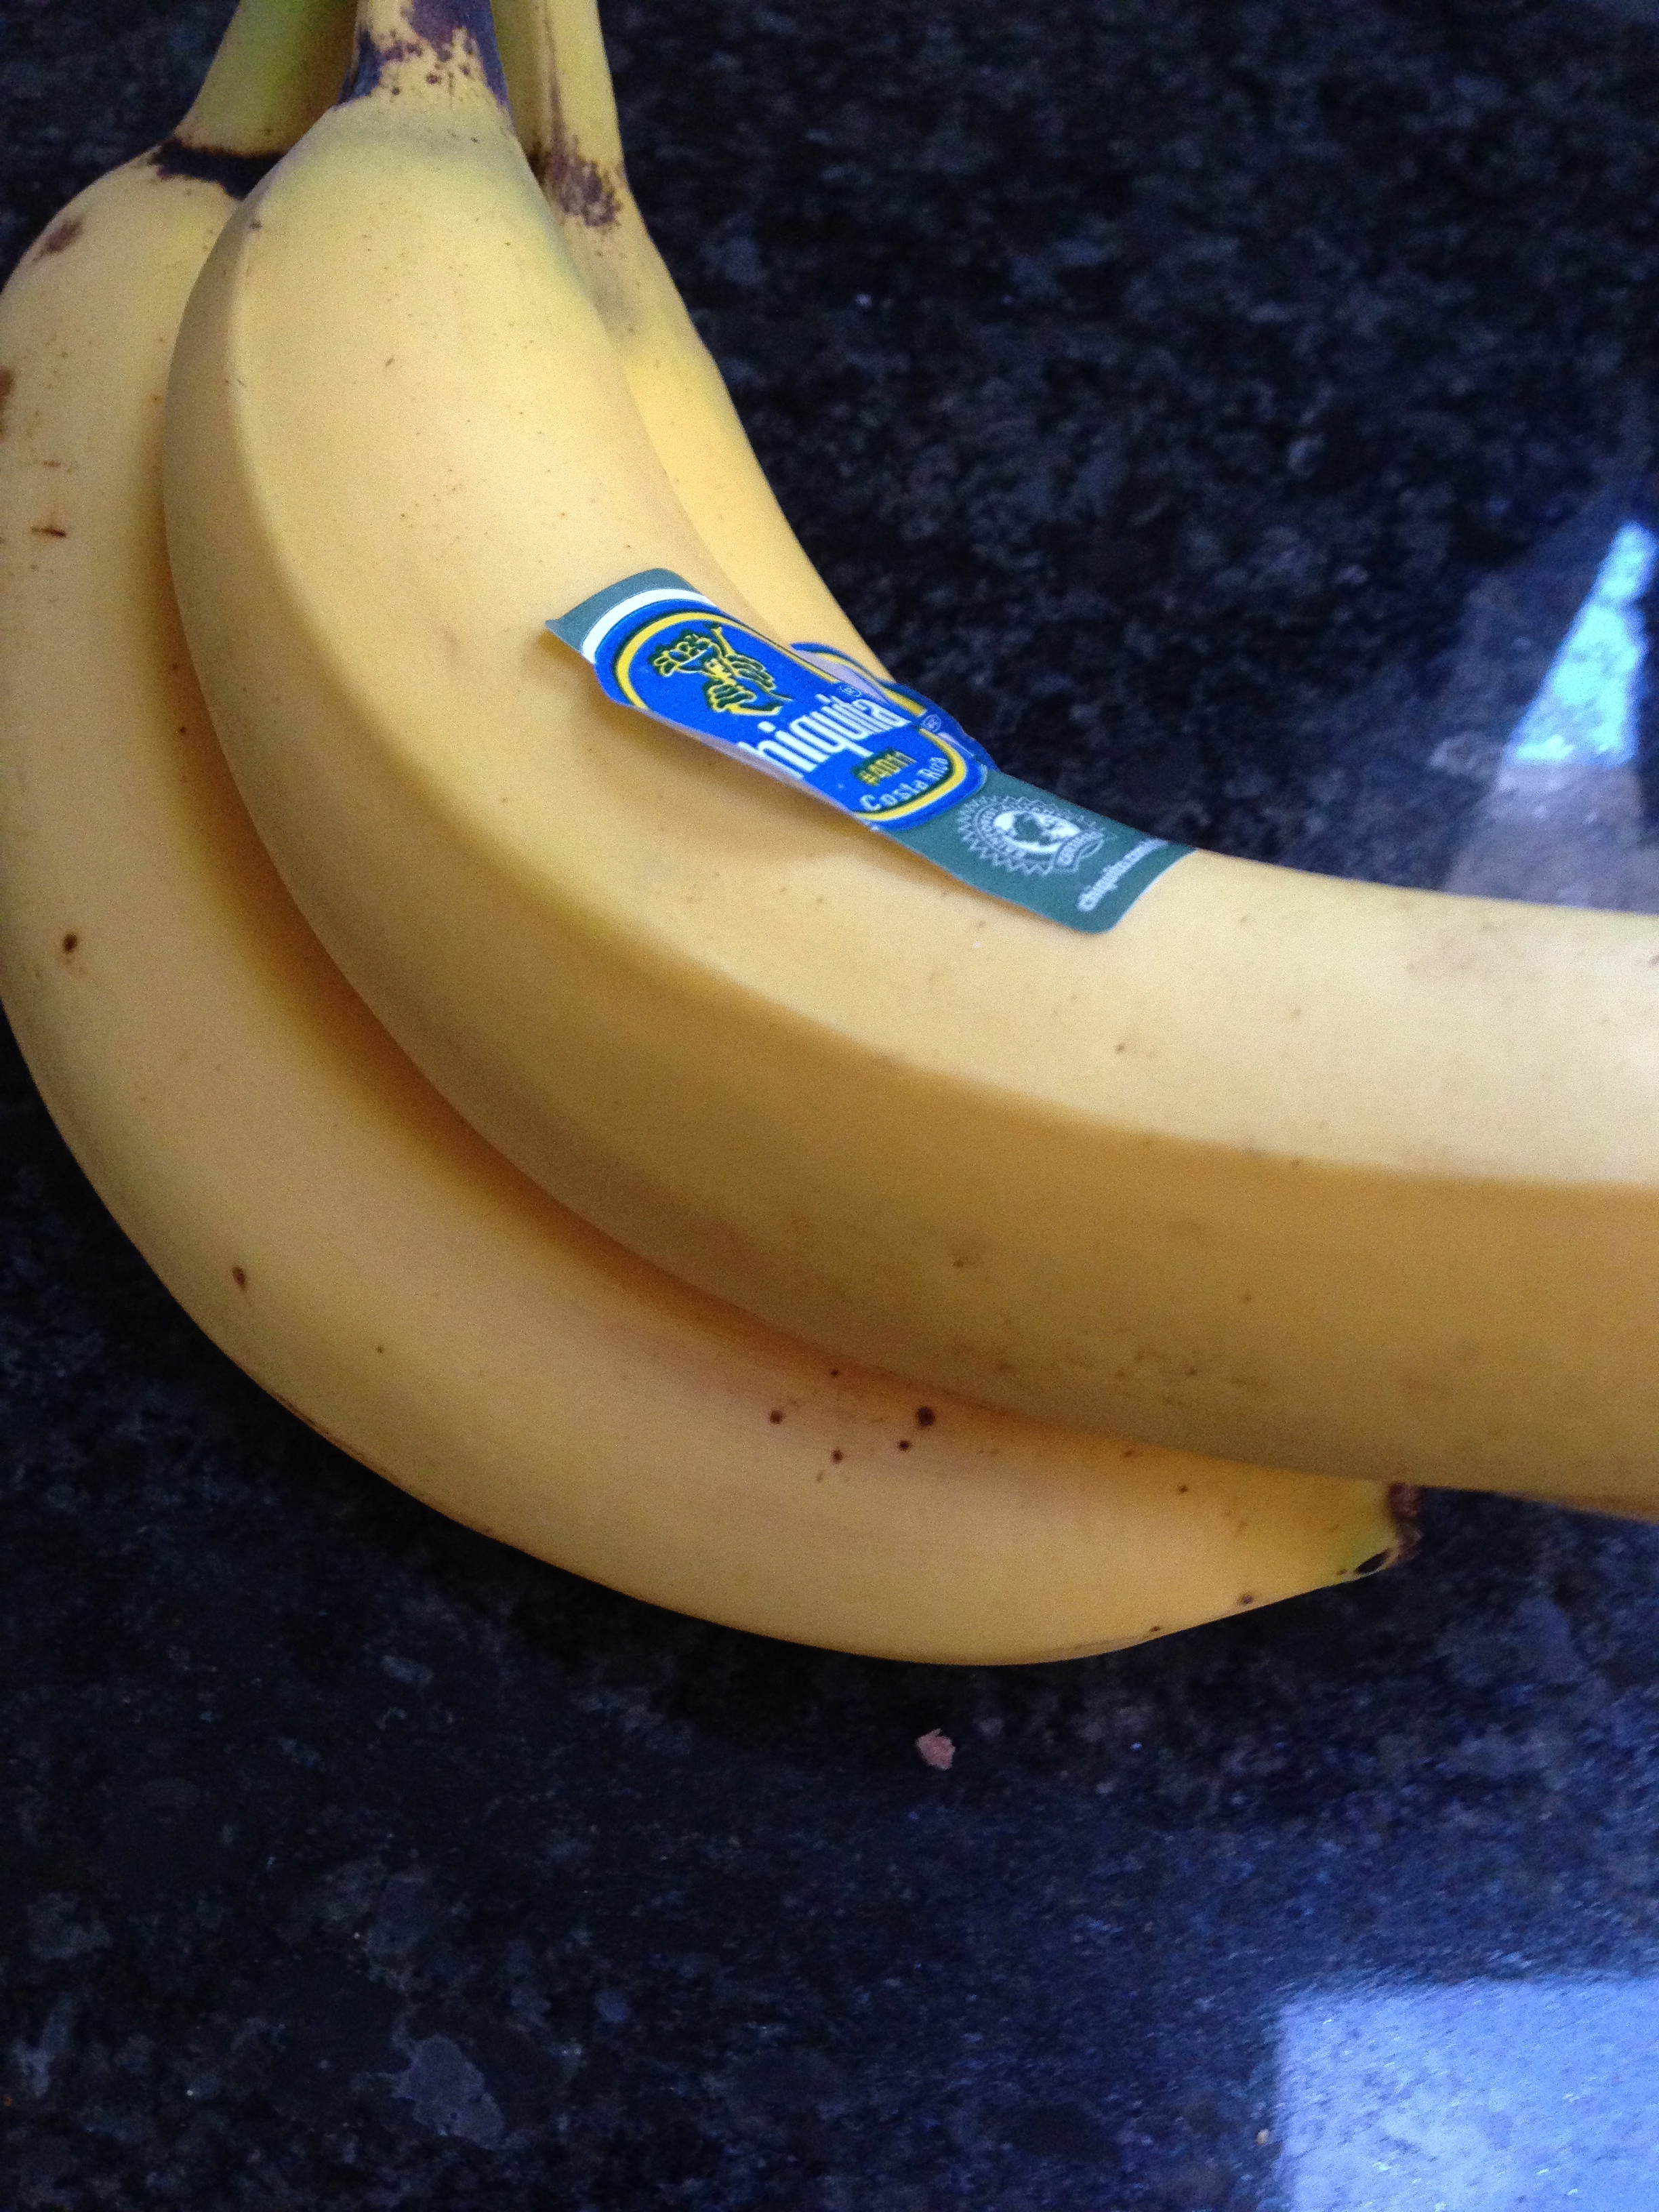
I decided on making a “Cinnamon Crumb Banana Bread”…banana bread and crumb cake coming together in one dessert? DONE!…I knew I had some very ripe bananas sitting on my counter and after looking at the ingredient list noticed the only thing I didn’t have was buttermilk…no biggie…I would make a quick stop on my way home from work. After dinner, I got to baking… Here’s where I found the recipe… http://littlebitsof.com/2014/02/cinnamon-crumb-banana-bread/

Cinnamon Crumb Banana Bread

IMG_2685

Ingredients

1 egg

1 cup sugar

1 stick unsalted butter, at room temperature
1 teaspoon vanilla
1/2 cup buttermilk
2 overripe bananas, mashed
2 cups all purpose flour
1/2 teaspoon salt
1/2 teaspoon baking soda
1 teaspoon baking powder
1 teaspoon cinnamon
Crumb Topping:
1/2 cup powdered sugar
1/2 cup all purpose flour
4 tablespoons unsalted butter, melted
1/2 teaspoon cinnamon
pinch of salt

Directions

In a large bowl of a mixer, fitted with a paddle attachment, beat together the sugar, egg and vanilla until combined. Add the butter and beat until smooth and the butter is fully incorporated. Beat in the buttermilk and bananas.

In a separate bowl, mix together the flour, salt, baking soda, baking powder and cinnamon. Slowly stir the dry ingredients into the wet until all the flour is incorporated. Spray a loaf pan with non-stick spray and pour in the batter.

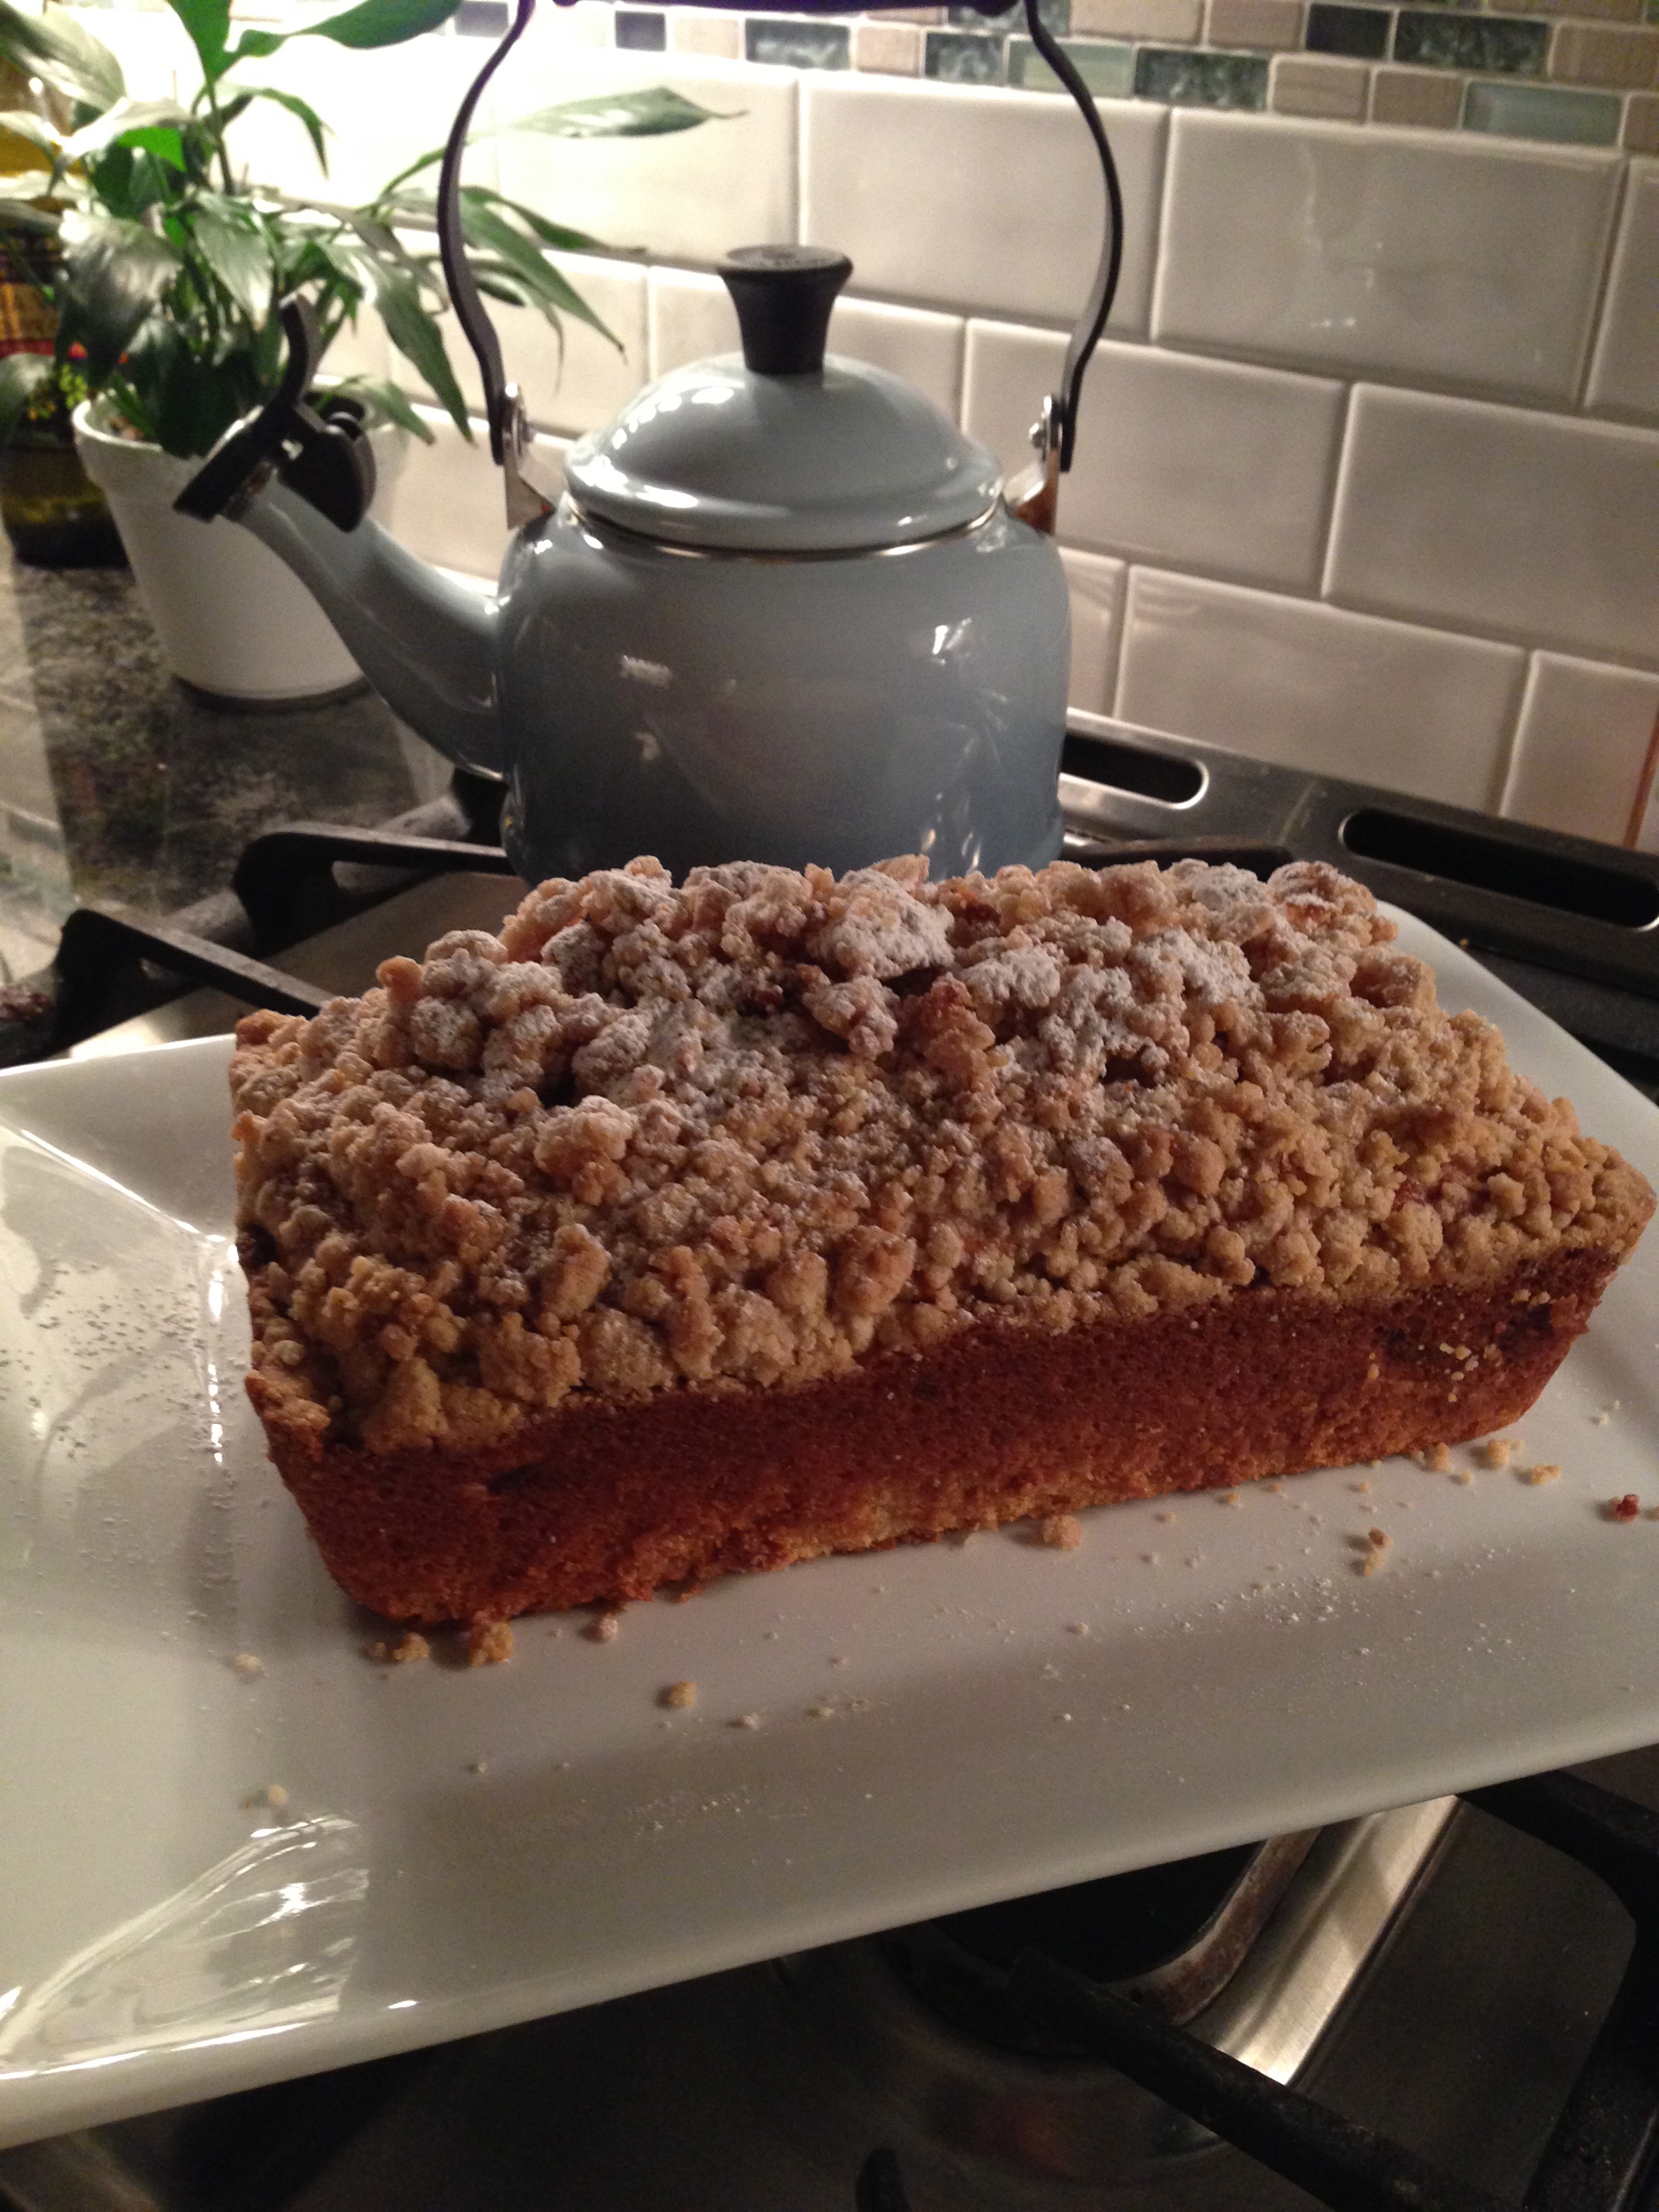
Make the crumb topping by combining the powdered sugar, flour, cinnamon salt and melted butter. Using your hands, crumble the mixture over the batter in the pan. Bake in a pre-heated 350 degree oven for 45 – 50 minutes or until a toothpick comes out clean.

IMG_2687

This recipe is a keeper! We couldn’t stop slicing away at it… I think I have found my new favorite banana bread recipe!! Any dessert that has huge cinnamon crumbs on top is a winner in my book! Have you ever had Entenmann’s Banana Crunch Cake? Well, that’s exactly what this reminded me of!! I was obsessed with it growing up thanks to my good friend Kristen — she actually confessed to me that when blowing out her birthday candles when she was younger, her secret wish was for that cake!! and now I think of her every time I see that cake! You must try this recipe Kris!! =)  My mom even suggested that the next time we make it perhaps we should drizzle some chocolate over the top!! Quick breads are such a nice treat to have around the house and I will surely be making this one again!

With love and sugar, Kristen xo.

Fat Tuesday Calls For Fat Brownies!

Happy Fat Tuesday!!!

I thought about sharing my trip to New Orleans today, but I’ll save that for #tbt because I realized I owe you guys a recipe, and do I have a show stopper…and you might want to get out your stretchy pants because I make no promises that you will be able to refrain yourself from eating the entire batch!

Now, I know how easy brownies can be to make from scratch and I always have all the ingredients, but I also make sure to have a box ( yea, you heard me, a box!) of my favorite brownie mix. There is nothing wrong with taking a short cut, especially if you need dessert in a pinch. After many years, my go to mix is Ghirardelli. It taste the closest to many homemade recipes I have tried.

I remember last year coming across many recipes for “the brookie” or “crownie” half brownie/half chocolate chip cookie (hellloooo best dessert ever) which emulated the wonderful dessert, The Brookster, that Baked NYC introduced to the world a few years ago and now thanks to Pinterest I stumbled upon a recipe that has now gone viral that took the brookie up…….another notch! (insert Emeril Lagasse Voice)

I give you, “The Slutty Brownie” which sandwiches Oreos between layers of Fudgy Brownie and Chocolate Chip Cookie…oh, you naughty brownie you 😉

What is so great about this recipe is that I use A LOT of help from the store. My Ghirardelli boxed brownie mix, a roll of Toll House cooke dough (you know you still love it too!) and a package of Oreos. The only extra ingredients you need are what’s required for mixing up the brownie mix. I promise you that you will make instant friends wherever you bring these brownies!!

Slutty Brownies

Ingredients

1 Box of your favorite Brownie Mix, prepared as directed

1 roll of cookie dough

1 package of Oreos (maybe even a few left over for eating!)

Directions

Preheat oven to 375. Make brownie batter according the package. Set aside. Grease glass 9×13 dish and press cookie dough on bottom. Line your Oreo cookies in the pan. Pour the brownie batter on top. Bake in oven for 45 minutes. Let cool and enjoy!

I have some pretty exciting recipes and food adventures coming up that I can’t wait to share! One of my bestest friends, Brittany, is celebrating her birthday this weekend so I will be heading into NYC for birthday celebrating and a food crawl!!! The next few weeks will also be busy with writing report cards and other school commitments, but I will do my best to bring you some tasty treats!

IMG_2156

With Love and Sugar, Kristen xo.

It’s Not A Party Without Some Chocolate!

My week off went super fast! Tomorrow it’s back to the daily grind. I just finished dinner, grading papers, lesson planning, and packing my lunch. During the week, my cooking is usually quick and simple. I usually have more time to try new recipes on the weekends and during the summer months, but don’t worry…I will be posting another throwback food trip on Thursday and have a few other things up my sleeve…

Yesterday we celebrated my sister-in-law’s 30th birthday!!! woo!!! It was such a good time. Her actual birthday isn’t until the 26th, but I think that’s what’s so great about birthdays. You can start the celebration early and keep it going as long as you can. I know I celebrate mine for at least a week! haha My favorite thing to do for someone’s birthday, or for any special occasion, is to obviously bake for them and since this was a very special birthday, I wanted to try something different. In my family, you can always count on there being a lot of food, but then you can also count on there being a CRAZY amount of desserts. Deanna loves anything chocolate so I knew that I had to find something chocolatey to make for her. A friend of mine had talked about a recipe for “chocolate lasagna” that they had made for their Suer Bowl party and after doing a little searching on the internet, I found it!! It’s a no-bake dessert which means you can make it the day before if you are pressed for time. I actually like preparing these types of recipes a day before anyway since I think they taste best when they can sit in the fridge overnight.

IMG_2590

IMG_2591


It requires a whole package of cookies which means a random broken Oreo could not be tasted during the process, darn!

Like it’s cheesy, saucy cousin…this chocolate lasagna is layered! It starts with an Oreo crust, followed by a sweet cream cheese layer, chocolate pudding, and then topped with more whipped cream and mini chocolate chips! yumm… As I was making this I was thinking how you could totally change it up and experiment to try different variations and flavors based on the same layering technique. I always stick with a recipe before I try changing it up though.

IMG_2593

IMG_2594


Once it’s all layered up, you could freeze it for an hour or put in the fridge for at least 4 hours, however, like I said…the longer it sits, the better! Oh the recipe, right!!…http://centercutcook.com/chocolate-lasagna/

INGREDIENTS

1 package regular Oreo cookies (Not Double Stuff) – about 36 cookies

6 Tablespoon butter, melted

1- 8 ounce package cream cheese, softened

1/4 cup granulated sugar

2 Tablespoons cold milk

1- 12 ounce tub Cool Whip, divided

2 – 3.9 ounce packages

Chocolate Instant Pudding.

3 1/4 cups cold milk

1 and 1/2 cups mini chocolate chips

DIRECTIONS

Begin by crushing 36 Oreo cookies. I used my food processor for this, but you could also place them in a large ziplock bag and crush them with a rolling pin. When the Oreos have turned into fine crumbs, you are done. Transfer the Oreo crumbs to a large bowl.

Stir in 6 tablespoons melted butter and use a fork to incorporate the butter into the cookie crumbs. When the butter is distributed, transfer the mixture to a 9 x 13 inch baking dish. Press the crumbs into the bottom of the pan. Place the pan in the refrigerator while you work on the additional layers.

Mix the cream cheese with a mixer until light and fluffy. Add in 2 Tablespoons of milk, and sugar, and mix well. Stir in 1 and 1/4 cups Cool Whip. Spread this mixture over the crust.

In a bowl, combine chocolate instant pudding with 3 and 1/4 cups cold milk. Whisk for several minutes until the pudding starts to thicken. Use a spatula to spread the mixture over the previous cream cheese layer.

Allow the dessert to rest for about 5 minutes so that the pudding can firm up further. Spread the remaining Cool Whip over the top. Sprinkle mini chocolate chips evenly over the top. Place in the freezer for 1 hour, or the refrigerator for 4 hours before serving.

IMG_2595

As you can see, this is a very simple dessert and the result is oh so delicious!! I also made Funfetti Cupcakes for the party, but those were made from good ol’box cake mix…like what we remember from when we were kids which sometimes is just what you are craving, however, one reason I started this blog was to push myself try new things so I am hoping to try more cake recipes from scratch at some point.

Hope you guys have a fantastic week with maybe some chocolate involved!!

With love and sugar, Kristen xo.

Give Me Some of That Yum Yum Chocolate Chip…

I know Salt-N-Pepa were not talking about cookies in their hit song from the early 90s, but I am…

Fact. I love cookies…and I hope you all do too, because I promise you that there will be many more cookie recipes to follow. Most of my cookie baking happens during December for obvious reasons (SANTA!!) and then I have my year round cookie recipes that I make whenever I need my cookie fix. 

The one I made today is ‘Vanishing Oatmeal Raisin Cookies’ which can be found under the lid of the Quaker Oatmeal container. My family request this one so much that I have it memorized. It was snowing here again this morning so I decided to mix up a batch. I asked my sous chef, aka mom, to help me out. She and I really make the perfect team. I bake and she cleans the dishes! haha…it’s a nice little system we have.  


Image

The recipe calls for 1-cup of raisins, but I opted for 1-cup of chocolate chips which to me is a no brainer. Don’t get me wrong, I like raisins, but I prefer the flavor of the chocolate chips mixed in with the oats and cinnamon. I’ve even seen recipes that call for Raisinets, which I think is BRILLIANT, but have yet to try it. If you have, let me know how they turned out!! (probably delicious).

I don’t know what I would do without my KitchenAid mixer. It was actually my 21st birthday gift hahaha…makes mixing up batter so much easier!


Once the batter was all mixed together, I made it rain……chocolate chips!!

Image


I use a cookie scoop for all my cookies so they come out even. I have two different scoop sizes, but tend to like cookies on the bigger side. I have been known to use an ice-cream scoop for certain cookie recipes!  

Image


Vanishing Oatmeal Raisin(or chocolate chip) Cookies

http://www.quakeroats.com/cooking-and-recipe/vanishing-oatmeal-raisin-cookies.aspx

INGREDIENTS:
1/2 Cup(s) (1 stick) plus 6 tablespoons butter, softened
3/4 Cup(s) firmly packed brown sugar
1/2 Cup(s) granulated sugar
2 Eggs
1 Teaspoon(s) vanilla
1-1/2 Cup(s) all-purpose flour
1 Teaspoon(s) Baking Soda
1 Teaspoon(s) ground cinnamon
1/2 Teaspoon(s) salt (optional) 
3 Cup(s) Quaker® Oats (quick or old fashioned, uncooked)
1 Cup(s) raisins 

PREPARATION:
Heat oven to 350°F. In large bowl, beat butter and sugars on medium speed of electric mixer until creamy. Add eggs and vanilla; beat well. Add combined flour, baking soda, cinnamon and salt; mix well. Add oats and raisins; mix well. Drop dough by rounded tablespoonfuls onto ungreased cookie sheets. Bake 8 to 10 minutes or until light golden brown. Cool 1 minute on cookie sheets; remove to wire rack. Cool completely. Store tightly covered.


These cookies are perfect for filling that empty cookie jar. The only hard part is trying not to sample them hot out of the oven, because I think these taste best when they have cooled completely, and of course served with a nice glass of cold milk!! 

Image


With love and sugar, Kristen xo.

#Tonightshow #Applecrisp

Who’s excited for the 1st episode of The Tonight Show with Jimmy Fallon? I am!! I can’t wait to see what hilarious antics he has come up with and I am even more excited that he’ll be having Justin Timberlake as a guest on Friday’s show. Obviously, we need a ‘late night’ snack tonight so I whipped up the quickest dessert I know, an apple crisp. Now, I know what you’re saying, “Kristen, it’s not fall, it’s not apple season” and you are absolutely correct, but who says we can’t bend the rules a little? I always have the ingredients on hand and when I need something comforting, a crisp does the trick. I have tried many different recipes, but recently found one in Cooking Light magazine that was awesome! It was the perfect amount of warm gooey apples to crumble ratio…I then topped it with cold vanilla ice-cream…so yummy and easy, trust me! and there is nothing wrong with making a little extra crisp topping, I won’t tell! hehe…

Image

Maple-Walnut Apple Crisp

Ingredients

  • 1/3 cup all-purpose flour
  • 1/2 cup packed light brown sugar
  • 1/3 cup regular oats
  • 1/4 teaspoon ground cinnamon
  • 1/4 cup chilled butter or stick margarine, cut into small pieces
  • 3 tablespoons chopped walnuts
  • 7 cups sliced peeled Rome apple (about 3 pounds)
  • 1/4 cup maple syrup
  • 1/2 teaspoon ground cinnamon

Preparation

  1. Preheat oven to 375°.
  2. Lightly spoon flour into a dry measuring cup; level with a knife. Combine flour, sugar, oats, and 1/4 teaspoon cinnamon in a medium bowl; cut in butter with a pastry blender or 2 knives until mixture is crumbly. Stir in walnuts.
  3. Combine apple and remaining ingredients in a large bowl; toss well. Spoon apple mixture into an 8-inch square baking dish or 1 1/2-quart casserole. Sprinkle with crumb mixture. Bake at 375° for 45 minutes or until golden brown. Serve warm.

http://www.myrecipes.com/recipe/maple-walnut-apple-crisp-10000000223084/

I am a big fan of many recipes from Cooking Light magazine! This one will definitely be a “go to” for me and according to my watch you still have plenty of time to make this to have while you’re snuggled up on the couch watching Jimmy Fallon!! …oh, and don’t think I forgot about it being President’s Day…I have a special “Throwback Thursday” post for this week from my trip to Washington, DC that I took last summer!! There was food and lots of history to be discovered!

With love and sugar, Kristen xo.